How to Cook Brown Rice in a Rice Cooker
Quick overview: Cooking brown rice in a rice cooker is easy once you accept two facts: brown rice needs more water than white (about 1 cup rice to 1¾–2¼ cups water) and it needs more time, because the bran layer resists moisture. Rinse it, ideally soak it 30–60 minutes, cook it on a brown-rice program if you have one, then let it rest 10 minutes before fluffing. Do that and you get tender, nutty, separate grains instead of the crunchy, undercooked rice that gives brown rice a bad reputation. This guide covers the full method, ratios, and fixes. For cookers with dedicated brown-rice programs, see the Best Rice Cookers guide.
Why Brown Rice Is Different
Brown rice is simply rice with its bran and germ layers left intact — the parts removed to make white rice. Those layers carry most of the fiber, nutrients, and nutty flavor, but they also form a tough, water-resistant shell around each grain. That shell is the entire reason brown rice behaves differently in a cooker: water penetrates more slowly, so brown rice needs both more water and a longer, gentler cook than white rice. Treat it like white rice and the center stays hard while the bran feels chewy.
The Right Water Ratio for Brown Rice
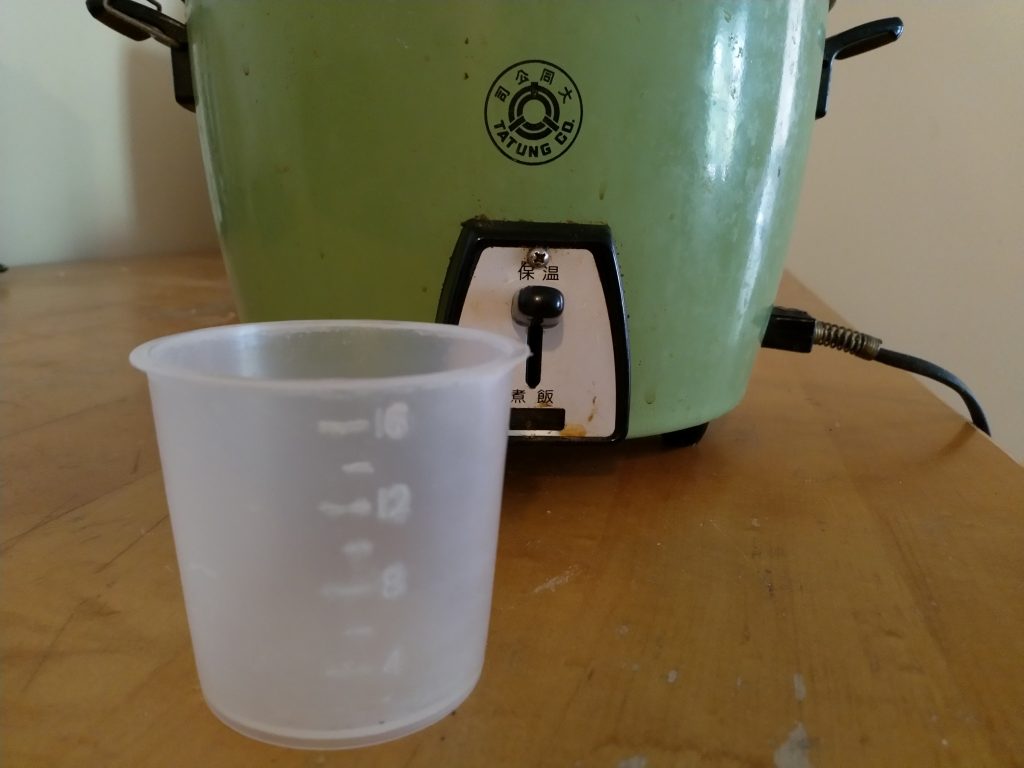
Brown rice generally wants roughly twice the water of white rice. Within that range, more water yields softer rice and less water yields firmer, more separate grains. Measure rice and water in the same cup (remember a rice cooker cup is 180 ml).
| Texture goal | Rice : water ratio | Water per 1 cup rice |
|---|---|---|
| Firmer, separate grains | 1 : 1.75 | 1¾ cups |
| Balanced (recommended start) | 1 : 2 | 2 cups |
| Softer, more tender | 1 : 2.25 | 2¼ cups |
If your cooker has a brown-rice water line, use it and skip separate water measuring — it is calibrated for the 180 ml cup. For the full ratio breakdown across every grain, see Rice to Water Ratio for a Rice Cooker.
Step-by-Step: Brown Rice in a Rice Cooker
- Measure the rice using the cooker’s 180 ml cup so the ratio and water lines stay accurate.
- Rinse thoroughly — place the rice in a fine sieve and run cold water over it, swishing, until the water runs mostly clear (about 3–4 rinses). This removes surface dust and excess starch so the grains stay separate rather than gummy.
- Soak (optional but recommended) for 30–60 minutes in the cooking water. Soaking softens the bran, shortens cook time, and produces more even results. If you soak, you can keep the same total water since the rice cooks in its soaking liquid.
- Add water to your chosen ratio (start at 1:2) or fill to the brown-rice line.
- Add a pinch of salt or a few drops of oil if you like — salt for flavor, a little oil to help keep grains separate and reduce sticking.
- Select the brown-rice program if your cooker has one; it runs a longer, gentler cycle automatically. On a basic switch cooker, just start it normally — the extra water means it will run longer before switching to keep-warm.
- Do not lift the lid while it cooks. Releasing steam disrupts the cycle and leads to uneven grains.
- Let it rest for 10 minutes after the cooker switches to keep-warm (unplugging is fine). This lets the grains absorb remaining moisture and firm up.
- Fluff gently with the paddle to separate the grains and release steam, then serve.
How Long Does Brown Rice Take?
Brown rice typically takes considerably longer than white — often 40 to 50 minutes or more on a dedicated program, versus roughly 25–35 minutes for white. A basic switch cooker with extra water will simply run longer before flipping to keep-warm. Soaking beforehand can meaningfully cut the active cook time and improves evenness, which is why it is worth the wait when you have it.
Tips for the Best Brown Rice
- Don’t skip the rinse. It is the difference between separate, nutty grains and a sticky, gummy mass.
- Soak when you can. Even 30 minutes makes the bran more permeable for more even cooking.
- Use the brown-rice program if you have one. Its longer, gentler profile is built for exactly this grain.
- Add flavor to the water. Swap some water for low-sodium broth, or add a bay leaf or a drizzle of oil for richer results.
- Rest before fluffing. Ten minutes of covered rest firms the texture and prevents a wet, clumpy bowl.
- Batch and freeze. Brown rice freezes well; cook a big batch, cool it, and freeze portions for quick meals.
Why Cook Brown Rice at All?
It is worth knowing what the extra time and water buy you nutritionally, because that is the whole reason to bother. Brown rice keeps its bran and germ, the layers stripped away to make white rice. Those layers carry most of the grain’s fiber, along with B vitamins, magnesium, and other minerals, plus natural oils that give brown rice its characteristic nutty flavor and chew. The fiber slows digestion, which is why brown rice has a gentler effect on blood sugar than white rice and tends to be more filling per serving.
The trade-offs are practical rather than nutritional: brown rice takes longer to cook, has a shorter shelf life because those natural oils can eventually go rancid, and has a firmer, chewier texture that not everyone prefers. Store uncooked brown rice in an airtight container in a cool, dark place — or the refrigerator or freezer for long-term storage — to keep it fresh. None of this changes how you cook it; it simply explains why the grain behaves the way it does and why batch-cooking and freezing make so much sense.
Flavor Variations Worth Trying
Plain brown rice is a blank canvas, and small additions before cooking transform it without extra effort. Replacing some or all of the water with low-sodium chicken or vegetable broth gives the rice savory depth. A bay leaf, a smashed garlic clove, or a strip of kombu added to the cooking water infuses subtle flavor that you remove before serving. A teaspoon of oil or a small pat of butter enriches the grains and helps them stay separate, while a pinch of salt sharpens the natural nuttiness. For aromatic versions, stir in toasted spices, a cinnamon stick, or a handful of dried herbs. Because brown rice has assertive flavor of its own, it stands up to bolder additions than white rice does — so it pairs especially well with stir-fries, curries, grain bowls, and stuffed-vegetable fillings.
Storing and Reheating Cooked Brown Rice
Brown rice is ideal for meal prep because it holds up well to storage and reheating. Once cooked, cool it promptly — spreading it on a tray speeds this up — and refrigerate within a reasonable time in an airtight container, where it keeps for several days. For longer storage, portion the cooled rice into freezer bags or containers and freeze; it keeps for a few months and reheats almost as good as fresh.
To reheat, add a splash of water to restore moisture and warm it in the microwave under a damp cover, or in a pan over low heat, stirring until heated through. The added water replaces moisture lost during storage and prevents the grains from drying out. A useful food-safety habit: do not leave cooked rice sitting at room temperature for long stretches, since rice can harbor bacteria if left out, and reheat it thoroughly to steaming hot. Following these basics, a single large batch of brown rice can supply quick, healthy bases for meals all week.
Troubleshooting Brown Rice
| Problem | Likely cause | Fix |
|---|---|---|
| Crunchy / hard centers | Too little water or no soak | Increase water toward 1:2.25; soak next time |
| Mushy / wet | Too much water | Reduce water toward 1:1.75 |
| Gummy, clumped | Not rinsed enough | Rinse until water runs mostly clear |
| Stuck / scorched bottom | Heat too high, too little water | Use brown-rice program; add a little water; let rest |
| Unevenly cooked | Lid lifted, or no soak | Keep lid closed; soak before cooking |
If sticking is a recurring problem regardless of how you cook, the inner pot may be worn — see Why Does Rice Stick to My Rice Cooker?
White Rice vs. Brown Rice: Key Differences at the Cooker
If you are used to cooking white rice, a quick side-by-side makes the adjustments obvious. The differences all trace back to the bran layer brown rice retains.
| Factor | White rice | Brown rice |
|---|---|---|
| Water ratio | ~1:1.25 | ~1:2 |
| Cook time | ~25–35 min | ~40–50+ min |
| Soaking | Optional, minor benefit | Recommended, real benefit |
| Texture | Soft, fluffy | Chewy, nutty |
| Rinsing | Yes | Yes |
| Best program | White / regular | Brown / whole-grain |
The practical takeaway: if you switch from white to brown without changing anything, the most likely result is hard, undercooked grains because you used too little water and too little time. Add the extra water, lean on the brown-rice program or accept a longer run, and the grain rewards you with far more fiber and flavor than white rice delivers.
Scaling Up: Cooking Big Batches of Brown Rice
Because brown rice freezes and reheats so well, cooking large batches is one of the smartest ways to use it. The ratios stay the same when you scale up — keep the 1:2 proportion whether you cook two cups or six. Two cautions apply, though. First, do not exceed the cooker’s maximum fill line; brown rice plus its larger water volume fills a pot faster than white, so a “10-cup” cooker handles fewer cups of brown rice at maximum than of white. Second, very large batches benefit even more from soaking, because the greater mass of grain heats and absorbs water less uniformly, and a soak evens that out. Cook a big batch on the weekend, cool and portion it, and you have ready bases for grain bowls, stir-fries, and quick dinners all week.
Frequently Asked Questions
What is the water ratio for brown rice in a rice cooker?
Use roughly 1 cup of brown rice to 1¾ to 2¼ cups of water, measured in the same cup, with 1:2 a reliable starting point. More water gives softer rice and less water gives firmer, more separate grains. If your cooker has a brown-rice water line, use it since it is calibrated for the 180 ml cup.
Do I need to soak brown rice before cooking?
Soaking is optional but recommended. A 30 to 60 minute soak softens the tough bran layer, shortens the cook time, and produces more even results with fewer hard centers. If you soak, you can cook the rice in its soaking water and keep the same total liquid.
How long does brown rice take in a rice cooker?
Brown rice usually takes 40 to 50 minutes or more, considerably longer than the roughly 25 to 35 minutes for white rice, because the bran layer slows water absorption. A dedicated brown-rice program runs the right longer, gentler cycle automatically, while a basic switch cooker simply runs longer because of the extra water. Soaking first can cut the active cook time.
Can I cook brown rice in a basic rice cooker without a brown-rice setting?
Yes. Add the extra water (around 1:2), rinse and ideally soak the rice, and start the cooker normally. The greater volume of water means it will naturally run longer before switching to keep-warm. Let it rest 10 minutes afterward so the grains finish absorbing moisture and firm up.
Why is my brown rice always crunchy or undercooked?
The usual causes are too little water and not soaking, which leaves the bran-protected centers hard. Increase the water toward 1:2.25, soak the rice for 30 to 60 minutes before cooking, keep the lid closed throughout, and let the rice rest for 10 minutes before fluffing so it can absorb the last of the moisture.
Final Word
Brown rice has a reputation for being finicky, but the fix is simple: more water, more time, a good rinse, and ideally a soak. Use about double the water of white rice, lean on the brown-rice program if your cooker has one, keep the lid shut, and rest the rice before fluffing. The result is tender, nutty, separate grains every time. For cookers with dedicated whole-grain programs that make this effortless, see the Best Rice Cookers guide.
Last updated: June 2026