Hey there, meal prep warriors! Let’s talk about the Sunday Scramble. You know the one—where you’re trying to cook a week’s worth of lunches and dinners, your stovetop is a battlefield of pots and pans, and you’re wondering if there’s an easier way. Well, I’m here to tell you there is, and it’s a game-changer. If you’re ready to streamline your routine, the single best investment you can make is to buy a rice cooker for meal prep. It’s not just for rice; it’s your secret weapon for consistency, convenience, and culinary creativity.
I’ve spent years in the world of kitchen appliances, and I’ve seen firsthand how the right tool can transform a chore into a joy. A modern rice cooker is so much more than a simple appliance that boils water. It’s a precise, automated cooking assistant that frees up your time and your stovetop, delivering perfect results every single time. So, let’s dive in and find the perfect partner for your meal prep journey.
Why a Rice Cooker is Your Meal Prep Secret Weapon
Before we get into the nitty-gritty of models and features, let’s establish why a dedicated rice cooker is non-negotiable for serious meal preppers. Stovetop rice can be finicky—one minute of distraction and you’re left with a burnt, crusty mess. A rice cooker eliminates that guesswork entirely.
It’s all about controlled, consistent heating. A sensor monitors the temperature, automatically switching from cooking to “keep warm” mode the second your grains have absorbed the perfect amount of water. This means you can set it, forget it, and focus on prepping your proteins and veggies. For batch cooking, this is pure gold.
Key Features When You Buy a Rice Cooker for Meal Prep
Alright, you’re convinced. But walk into any appliance store or browse online, and the options can be overwhelming. What separates a basic model from a meal prep powerhouse? Let’s break down the features that truly matter.
Capacity: How Much is Enough?
This is your first and most important decision. Rice cooker capacity is measured in “cups,” but this refers to the small 180ml cup that comes with the unit, not a standard US 8oz cup. A good rule of thumb is to double the uncooked cup capacity to get the approximate number of cooked servings.
- 1-3 Cups (Uncooked): Ideal for singles or couples who prep smaller batches.
- 4-6 Cups (Uncooked): The sweet spot for most individuals or small families doing a full week’s prep. This will yield about 8-12 servings of cooked rice.
- 8-10+ Cups (Uncooked): Perfect for larger families, serious athletes, or those who prep for more than one person.
Expert Tip: “Don’t just think about rice,” advises kitchen appliance engineer, Dr. Alan Grant. “If you plan to cook soups, stews, or whole grains like quinoa, which expand differently, having a slightly larger capacity prevents messy boil-overs and ensures even cooking.”
The ‘Keep Warm’ Function: Your Best Friend
A standard feature, yes, but not all “Keep Warm” functions are created equal. A basic model might just keep the pot hot, slowly drying out your rice over time. Advanced models feature extended “Keep Warm” cycles that maintain the perfect temperature and moisture for up to 24 hours without sacrificing texture. For meal prep, this means your last batch of rice is just as fluffy as your first.
Preset Cooking Functions: Beyond Just White Rice
This is where the magic happens. If you’re only eating white rice, a simple one-button cooker might suffice. But a true meal prepper thrives on variety. Look for a model with dedicated settings for:
- Brown Rice: Requires more water and a longer cooking time. A dedicated setting handles this perfectly.
- Quinoa & Other Grains: Settings for grains like quinoa, farro, or barley ensure they’re never mushy.
- Oatmeal/Porridge: Imagine waking up to perfectly cooked steel-cut oats. A game-changer.
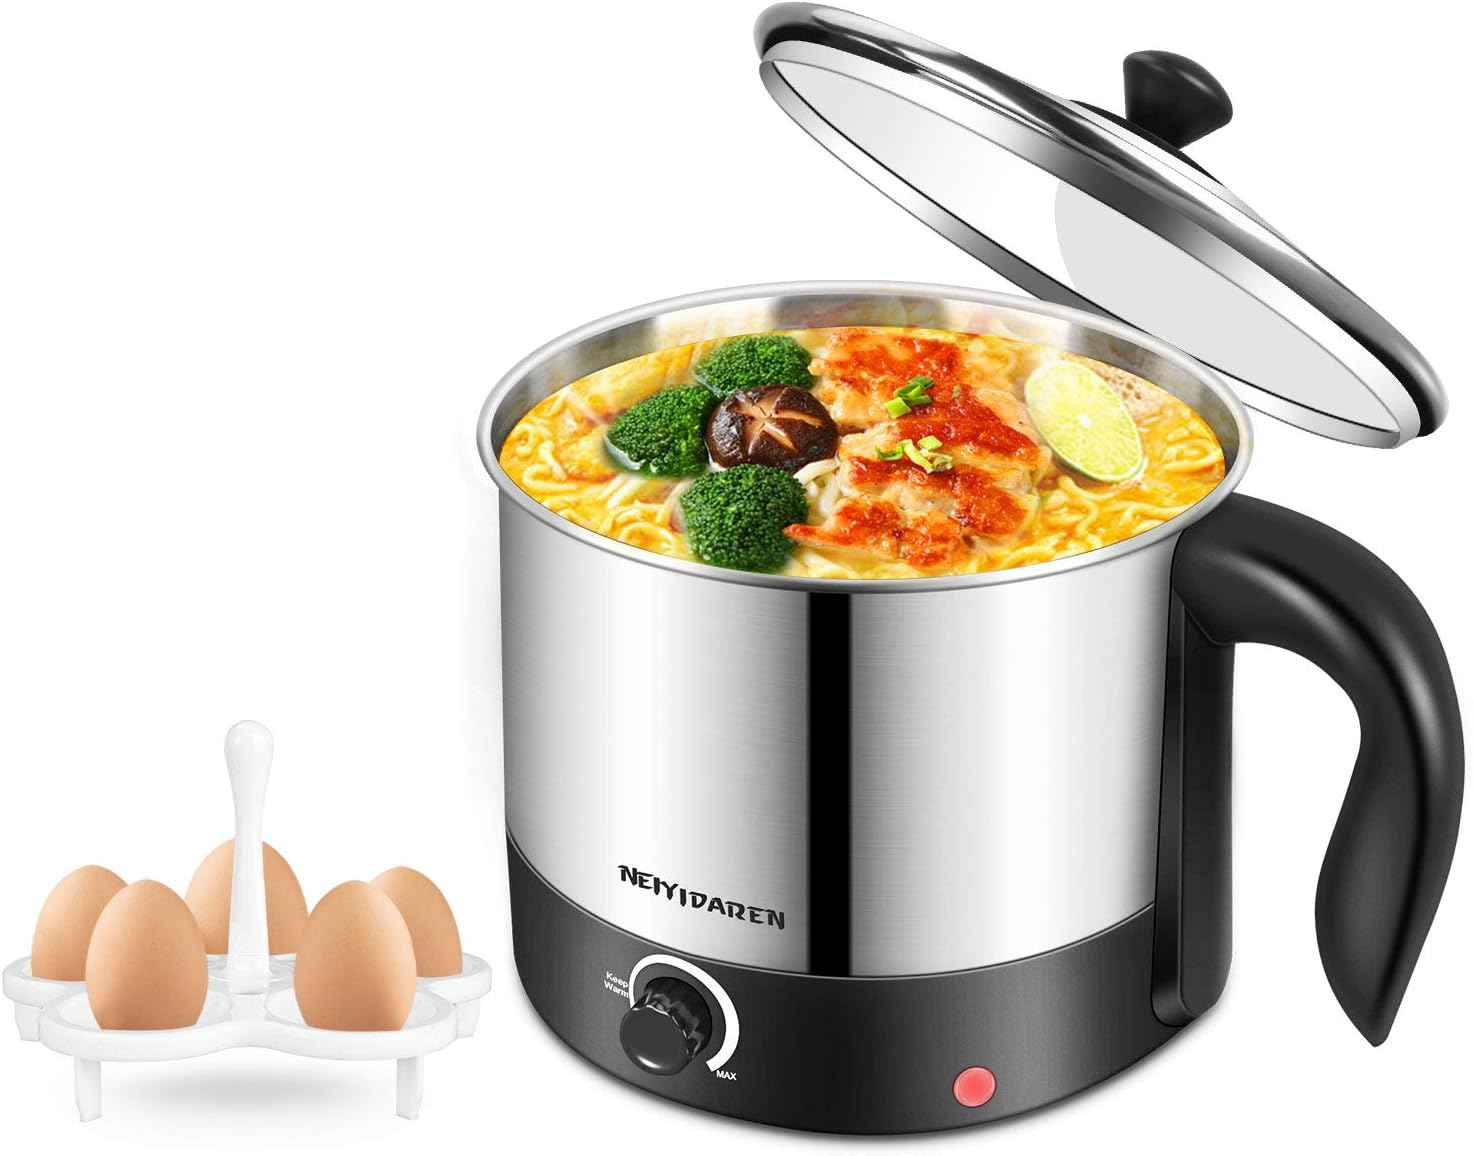
- Steam: Many cookers come with a steamer basket, allowing you to steam vegetables, fish, or dumplings while your rice cooks below. Two-in-one efficiency!
The Delay Timer: Cook on Your Schedule
The delay timer is an unsung hero. You can load your rice and water in the morning, set the timer, and come home from work or the gym to perfectly cooked, fresh rice waiting for you. This feature turns your rice cooker from a simple appliance into a personal chef.
Ease of Cleaning: The Non-Negotiable
After a long session of cooking, the last thing you want is a difficult cleanup. Look for a rice cooker with a removable, non-stick inner pot. Most modern pots are dishwasher-safe, but a quick rinse with a soft sponge is usually all they need. A detachable inner lid also makes it much easier to clean away any starchy residue.
Bảng trống.How to Choose the Right Rice Cooker Type
Not all rice cookers are built the same. Understanding the technology behind them can help you decide where to invest your money.
- Conventional/Basic Cookers: These are your simple, one-touch models. They work on a “cook” and “warm” principle and are very affordable. They’re great for white rice but can struggle with the nuances of brown rice or other grains.
- Fuzzy Logic (Micom) Cookers: These are the smart choice for meal preppers. They have a microcomputer chip (Micom) that makes real-time adjustments to cooking time and temperature. It’s like having a tiny chef inside, ensuring perfect results for various grains. They are the best value when you buy a rice cooker for meal prep.
- Induction Heating (IH) Cookers: The top of the line. Instead of a heating plate at the bottom, IH technology turns the entire inner pot into the heat source. This results in incredibly even, precise cooking. While more expensive, the consistency is unmatched, especially for connoisseurs of different rice varieties.
Your Step-by-Step Guide to Perfect Meal Prep Rice
Owning a great rice cooker is half the battle. Here’s how to get flawless results every single time.
- Measure Accurately: Use the measuring cup that came with your rice cooker. It’s calibrated for the water-line markings inside the pot.
- Rinse Your Rice: This is the most crucial, often-skipped step! Place your rice in a separate bowl, cover with cool water, and swirl with your hand. The water will become cloudy. Drain and repeat 2-3 times until the water is mostly clear. This removes excess surface starch, preventing gummy rice and boil-overs.
- Get the Ratio Right: Add the rinsed rice to the inner pot. Then, add water up to the corresponding line inside the pot. For example, if you added 3 cups of rice, fill the water to the “3” line for “White Rice.”
- Select the Right Setting: Close the lid, plug it in, and select the correct menu setting (e.g., “Brown Rice,” “Quinoa”).
- Let it Rest: Once the cooking cycle is complete and it chimes, don’t open the lid just yet! Let the rice steam for an additional 10-15 minutes. This allows the moisture to redistribute evenly.
- Fluff and Serve: Open the lid and use the rice paddle to gently fluff the rice, separating the grains. Now it’s ready to be portioned out for your weekly meals.
More Than Just Rice: Unleashing Your Cooker’s Potential
Don’t let the name fool you. Your rice cooker is a versatile multi-cooker in disguise. Here are a few things I regularly make in mine:
- Hearty Oatmeal: Add steel-cut oats, water or milk, and your favorite toppings. Use the “Porridge” setting for a creamy, hands-off breakfast.
- Perfect Quinoa: Use a 1:2 ratio of quinoa to water/broth and the “Quinoa” or “White Rice” setting.
- Steamed Veggies & Protein: Fill the bottom with a cup of water, place chopped broccoli, carrots, or even a salmon fillet in the steamer basket, and use the “Steam” function.
- Simple Soups and Chili: Sauté your aromatics in a high-end model with a “Sauté” function, then add your liquids and beans and use the “Porridge” or “Slow Cook” setting.
Keeping Your Meal Prep Partner in Tip-Top Shape
A little care goes a long way. To ensure your rice cooker lasts for years, always clean the inner pot and detachable lid after each use. Never use metal utensils or abrasive scrubbers on the non-stick surface—stick to the plastic paddle provided. Periodically, wipe down the heating element at the bottom (when cool and unplugged) to remove any debris.
Frequently Asked Questions
Q: Can I cook less rice than the minimum cup marking?
A: It’s generally not recommended. Cooking too small an amount can lead to inaccurate sensor readings and either burnt or undercooked rice. It’s best to stick to the manufacturer’s recommended minimum, which is usually 1 or 2 cups.
Q: How long can I safely leave rice on the ‘Keep Warm’ setting?
A: On a quality fuzzy logic or IH cooker, rice can be held safely and with good texture for up to 12 hours, and sometimes even 24. On basic models, it’s best to consume it within 4-5 hours to prevent it from drying out.
Q: Is it worth paying more for a Japanese or Korean brand?
A: Brands like Zojirushi and Cuckoo have a stellar reputation for a reason. Their fuzzy logic technology is top-notch, and their build quality is exceptional. For someone who eats rice or grains daily and relies on it for meal prep, the investment is often well worth the price for the consistency and longevity.
Q: Can I cook pasta in a rice cooker?
A: Yes, you can! It works well for “one-pot” pasta dishes. You add the dry pasta, sauce, water, and other ingredients, and use a “Steam” or “Porridge” setting. It won’t be al dente in the traditional sense, but it’s a fantastic shortcut.
Q: Do I need a special setting to cook Jasmine or Basmati rice?
A: Not necessarily. These long-grain white rices cook beautifully on the standard “White Rice” or “Long Grain” setting. The key is to rinse them properly to achieve that fluffy, separate-grain texture they’re famous for.
Your Meal Prep Journey Starts Here
Making the decision to buy a rice cooker for meal prep is about more than just convenience; it’s about reclaiming your time and taking control of your nutrition. It removes one of the biggest variables from your weekly cooking routine, guaranteeing one component of your meal is perfect every time. From fluffy quinoa bowls to hearty oat breakfasts and perfectly steamed veggies, this humble appliance will quickly become the most-used tool in your kitchen. So go ahead, make the investment. Your future, less-stressed self will thank you.